What Is Noise In Photoshop: A Concise Explanation
Noise in digital images has long been a challenge for photographers and image editors alike. In Photoshop, noise refers to unwanted visual artifacts, which can degrade the quality of an image. These artifacts often resemble graininess or speckled patterns and can ultimately ruin an otherwise perfect photo.
Understanding and addressing noise in Photoshop is essential for professional image editing. There are numerous tools and methods available within Photoshop to reduce or eliminate noise, resulting in cleaner, sharper images. By mastering these techniques, photographers can ensure their images retain the highest level of detail and quality.
Key Takeaways
- Noise in Photoshop refers to unwanted visual artifacts that degrade image quality.
- Various tools and techniques are available for reducing noise in Photoshop.
- Mastering noise reduction can help maintain image detail and overall quality.
Understanding Noise in Photoshop
In Photoshop, noise is an undesirable visual distortion that we can often find in digital images. Noise typically appears as grainy speckles or random color variations, which can significantly degrade the quality and detail of our images. There are various types of noise, such as luminance noise, color noise, digital noise, and JPEG artifacts.
Luminance noise affects the brightness values of pixels, causing fluctuations in the intensity levels. It resembles film grain, giving a somewhat textured appearance to the image. On the other hand, color noise is manifested as random red, green, and blue pixels. This type of noise typically occurs in low-light conditions or when using high ISO settings in our camera.
Digital noise is an inherent aspect of digital photography, and it can sometimes resemble film grain. Just like film grain, digital noise occurs when the camera's sensor captures light in less-than-ideal conditions. Digital noise can also result from high ISO settings or long exposure times, and it can impact both the color and luminance of the image.
JPEG artifacts are another form of noise in Photoshop that occurs during the compression process of JPEG files. These artifacts can cause visible blocky regions, blurriness, or even introduce additional color noise into the image. To address all these types of noise, we can use different noise reduction techniques in Photoshop, such as the Noise Reduction filter and the Adobe Camera Raw filter. By carefully applying these tools, we can significantly improve the quality and detail of our images while still preserving important details.
Methods to Reduce Noise
In Photoshop, there are several techniques we can use to reduce noise in our images. One popular method is the Reduce Noise filter. We can access this filter by navigating to Filter > Noise > Reduce Noise1. Here, we can adjust settings such as Strength, Preserve Details, and Reduce Color Noise to fine-tune the noise reduction2.
Another effective technique is using the Noise Reduction Filter in Adobe Camera Raw3. This filter allows us to target specific noise types, like luminance and chromatic noise, and adjust parameters such as sharpening and masking to enhance image quality4.
When working with high ISO images, we can create Smart Objects and apply Smart Filters to maintain non-destructive editing. This allows us to easily undo or modify the noise reduction settings without losing our original image data5.
In addition to these built-in tools, there are several third-party plugins designed to reduce noise and improve image clarity6. Experimenting with different techniques and settings will help us find the best approach to achieve noise-free, high-quality images in Photoshop.
How Noise Affects Photography
In photography, noise is an unwanted grainy effect that can reduce the image quality and detail. This issue particularly affects images taken in low light conditions. When we shoot in low light, our cameras need to use a higher ISO setting or longer exposure time to compensate for the lack of light and capture a properly exposed image.
Adjusting the ISO setting can have a significant impact on noise levels in our images. High ISO values increase the sensitivity of the camera sensor, allowing it to capture more light. However, this also leads to a higher noise level in our photos. On the other hand, using a lower ISO setting will result in less noise, but it may also require a longer exposure time or a larger aperture.
Modern camera sensors can handle noise better than their predecessors, but even the most advanced cameras have limitations. Noise reduction can be performed during post-processing using software like Adobe Camera Raw or Photoshop. The built-in noise reduction tools, such as Filter > Noise > Reduce Noise, can help remove or minimize noise from images without sacrificing image details.
In addition to ISO settings, other factors, such as exposure time and shutter speed, can also affect the noise levels in our photos. Longer exposure times and slower shutter speeds can introduce more noise. To find the optimal balance between noise, ISO settings, exposure, and shutter speed, it is essential to experiment and practice with different camera settings.
Despite the unwanted side effects, noise can sometimes be used creatively in our photography. In some cases, adding a touch of noise or grain to a photo can give it an artistic, film-like quality. In the end, understanding how noise affects photography and learning to manage it effectively can help us improve the overall quality of our images.
Working with Photoshop's Workspace
The workspace in Photoshop includes a variety of panels and tools that enable us to efficiently edit images. Familiarizing ourselves with the workspace basics is crucial for navigating and making the most out of the software.
To begin, let's discuss the common tasks we can perform in the workspace. One of the most important actions we'd need is undo. We can easily undo an action by pressing Ctrl + Z (Cmd + Z on Mac) or Alt + Ctrl + Z (Option + Cmd + Z on Mac) to step back through multiple actions.
We often encounter dialog boxes while using Photoshop. These boxes help us set the various options for tools and commands, making our editing process more intuitive. To access preferences, we can press Ctrl + K (Cmd + K on Mac). Preferences allow us to customize the way Photoshop behaves to better suit our needs.
Learning keyboard shortcuts can significantly speed up our workflow. For example, using Ctrl + T (Cmd + T on Mac) allows us to quickly transform a selected layer. To perform quick actions, we can use contextual menus by right-clicking on a layer or the canvas.
When it comes to managing images, we might need to resize images. We can easily do so by navigating to Image > Image Size or pressing Alt + Ctrl + I (Option + Cmd + I on Mac). Resizing images allows us to optimize them for various purposes, such as web design or printing.
Lastly, as beginners looking to edit our first photo, it's important to familiarize ourselves with essential tools like the Move Tool, Lasso Tool, Brush Tool, and others. Exploring these tools will help us develop a solid foundation in Photoshop and enhance our image-editing capabilities.
Advanced Techniques for Noise Reduction
We can use sharpen details to enhance the overall image quality after noise reduction. Adjusting the sharpen details slider helps in fine-tuning the edges in the image without compromising the noise reduction process.
Working with opacity gives us better control over the noise reduction effect. We can create a duplicate layer of the image and apply the noise reduction method on this layer. Then, adjusting the opacity of the edited layer allows us to blend it with the original layer, striking a balance between noise reduction and original image details.
System requirements play a crucial role in the performance of advanced noise reduction techniques. Ensure you have a powerful computer with sufficient hardware resources like RAM, graphics card, and processing power to handle complex editing tasks effectively.
Using plugins specifically designed for noise reduction can improve the overall process. There are several third-party plugins available, like Neat Image and Topaz DeNoise, to enhance the noise reduction capabilities of Photoshop.
Smart Objects are another valuable tool in noise reduction. Converting the image to a Smart Object before applying filters and adjustments allows us to work non-destructively, preserving the original image data and making further revisions simpler.
Patterns and gradients can also be used to enhance the noise reduction process. Patterns can help in blending areas of the image while maintaining texture, and gradients can be applied to create smooth transitions, masking the noise appropriately.
Frequently Asked Questions
How does noise reduction work in Photoshop?
In Photoshop, noise reduction works by identifying and smoothing out the grainy areas in an image while preserving the details. We can primarily apply noise reduction through filters, such as Reduce Noise and Camera Raw, and adjustments like Surface Blur and Median. These tools clean up images by analyzing pixel data and averaging the color values of similar surrounding pixels.
What are common types of image noise in photography?
Common types of image noise in photography include luminance noise and chrominance noise. Luminance noise manifests as grainy textures while chrominance noise appears as colorful specks or artifacts throughout the image, usually more noticeable in the darker regions. These types of noise can be caused by high ISO settings, long exposures, or low-light environments.
What techniques can be used to reduce noise in Photoshop?
Several techniques can be employed to reduce noise in Photoshop. We can utilize the Reduce Noise filter, which targets color and luminance noise independently, or the Adobe Camera Raw filter with its noise reduction sliders. Advanced techniques are also possible, such as selective noise reduction through layer masking and blend modes.
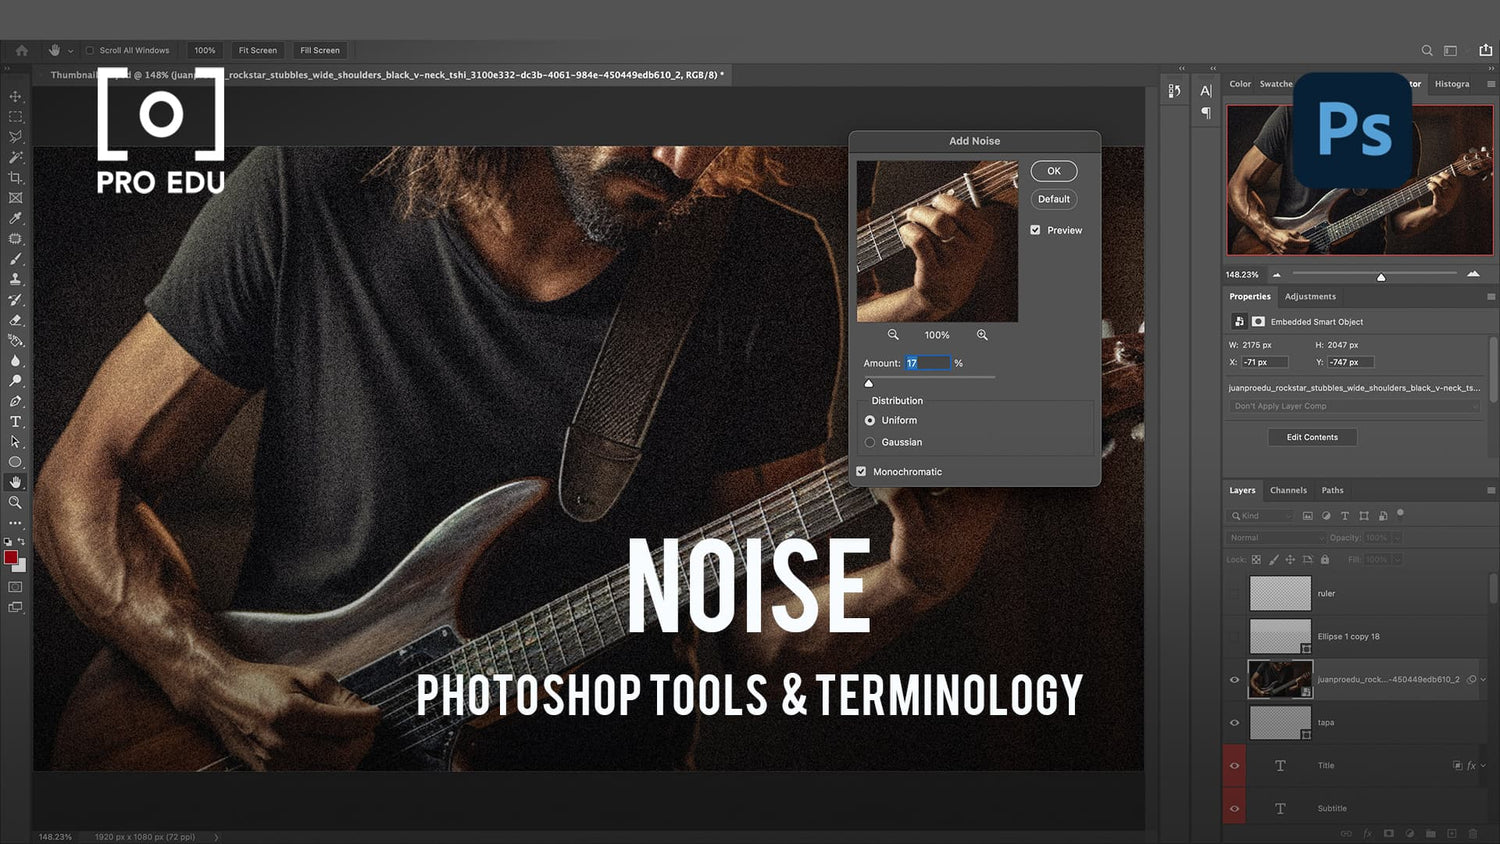
How does adding noise improve an image in Photoshop?
Adding noise in Photoshop can enhance an image by creating a sense of texture or depth. We can apply this effect subtly to make digital images appear more film-like or to unify composited elements by creating a consistent grain pattern. Noise can also be used as a dithering method to smooth color transitions and reduce banding.
What is the difference between chrominance and luminance noise?
Chrominance noise appears as random-colored specks throughout an image, while luminance noise shows as variations in brightness that give a grainy texture. Chrominance noise is generally more noticeable and less visually pleasing, whereas luminance noise is sometimes considered a part of an image's natural appearance, especially in film photography.
How can I control noise level in Photoshop's filters?
We can control the noise level in Photoshop's filters by adjusting the parameters in the filter dialog box. For example, in the Reduce Noise filter, we can balance noise reduction strength and preserve details by manipulating the sliders for strength, preserve details, and reduce color noise. It's essential to find balance by applying noise reduction judiciously, as overdoing it can cause a loss in image quality or create artifacts.


