
What is a Layer Mask in Photoshop: A Concise Guide
Layer masks in Photoshop are an essential tool for enhancing your creativity and flexibility when working with images. They allow us to hide or reveal parts of an image or layer without permanently erasing any content. By utilizing layer masks, we gain the ability to make non-destructive edits, ensuring that the original image remains intact while we experiment and fine-tune our adjustments.
The concept of layer masks is simple - they work by using a grayscale channel to control the visibility of specific areas of a layer. White reveals the content of the layer, black hides it, and shades of gray give varying levels of visibility. With a firm understanding of layer masks, we can manipulate our images in numerous ways, from blending images together seamlessly to applying selective adjustments, all while maintaining the integrity of the original photo.
Key Takeaways
- Layer masks enable non-destructive editing, hiding or revealing parts of an image or layer in Photoshop.
- Grayscale channels in layer masks control visibility, providing flexibility and creativity in image editing.
- Mastering layer masks allows for seamless blending and selective adjustments, enhancing overall Photoshop workflow.
Understanding the Concept of Layer Masks
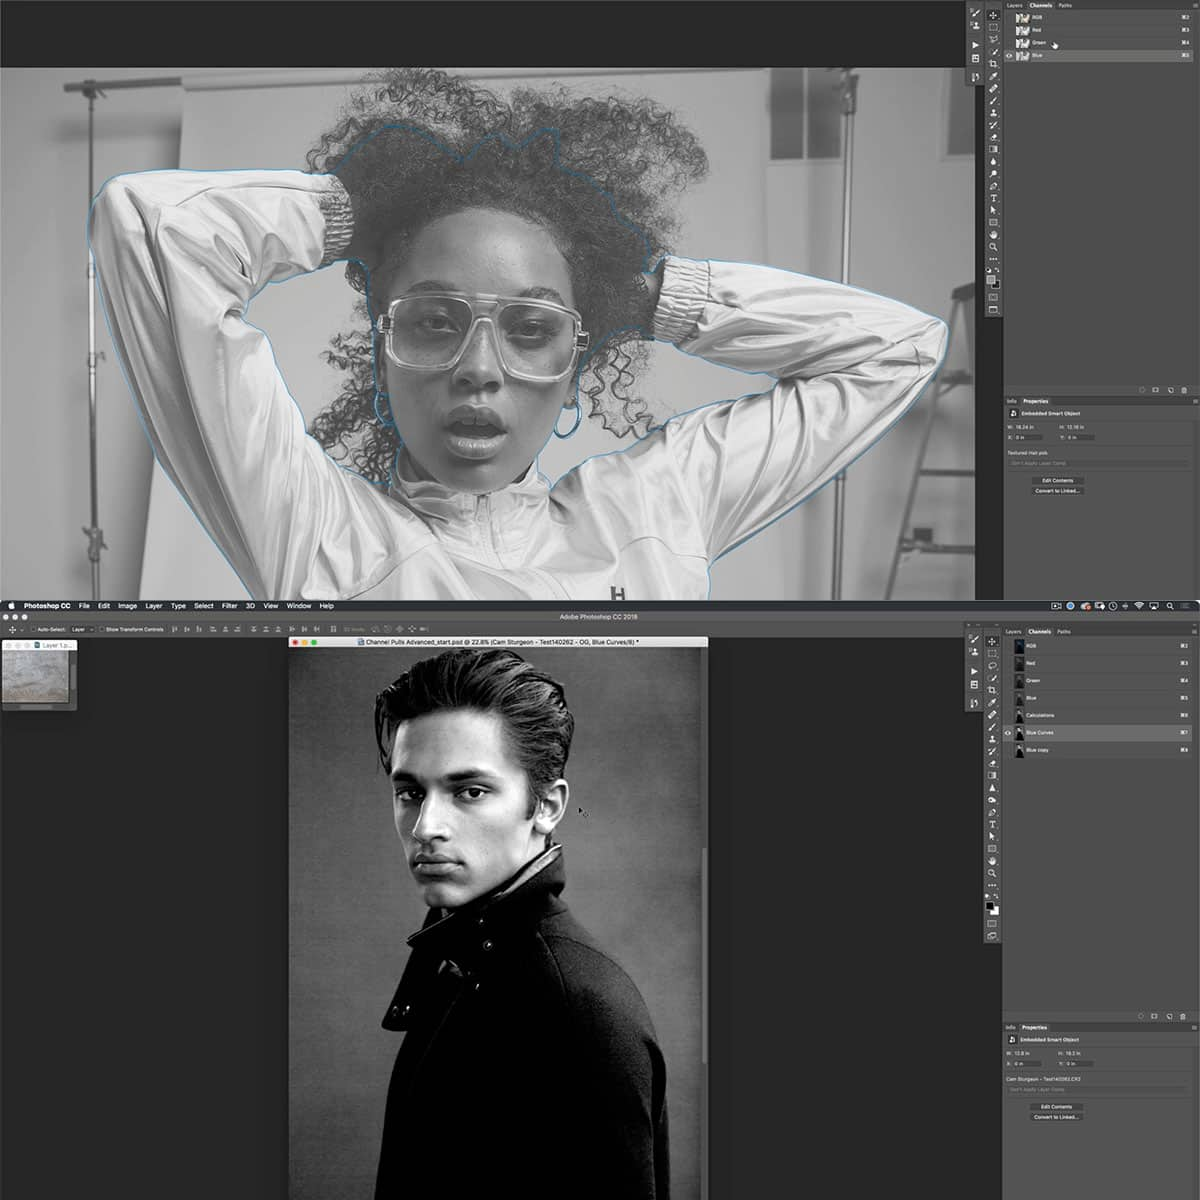
Layer masks in Photoshop are powerful tools used for non-destructive editing. They allow us to add or hide specific parts of a layer without permanently altering the original image. We can also control the opacity and blend of different layers, creating a seamless visual effect.
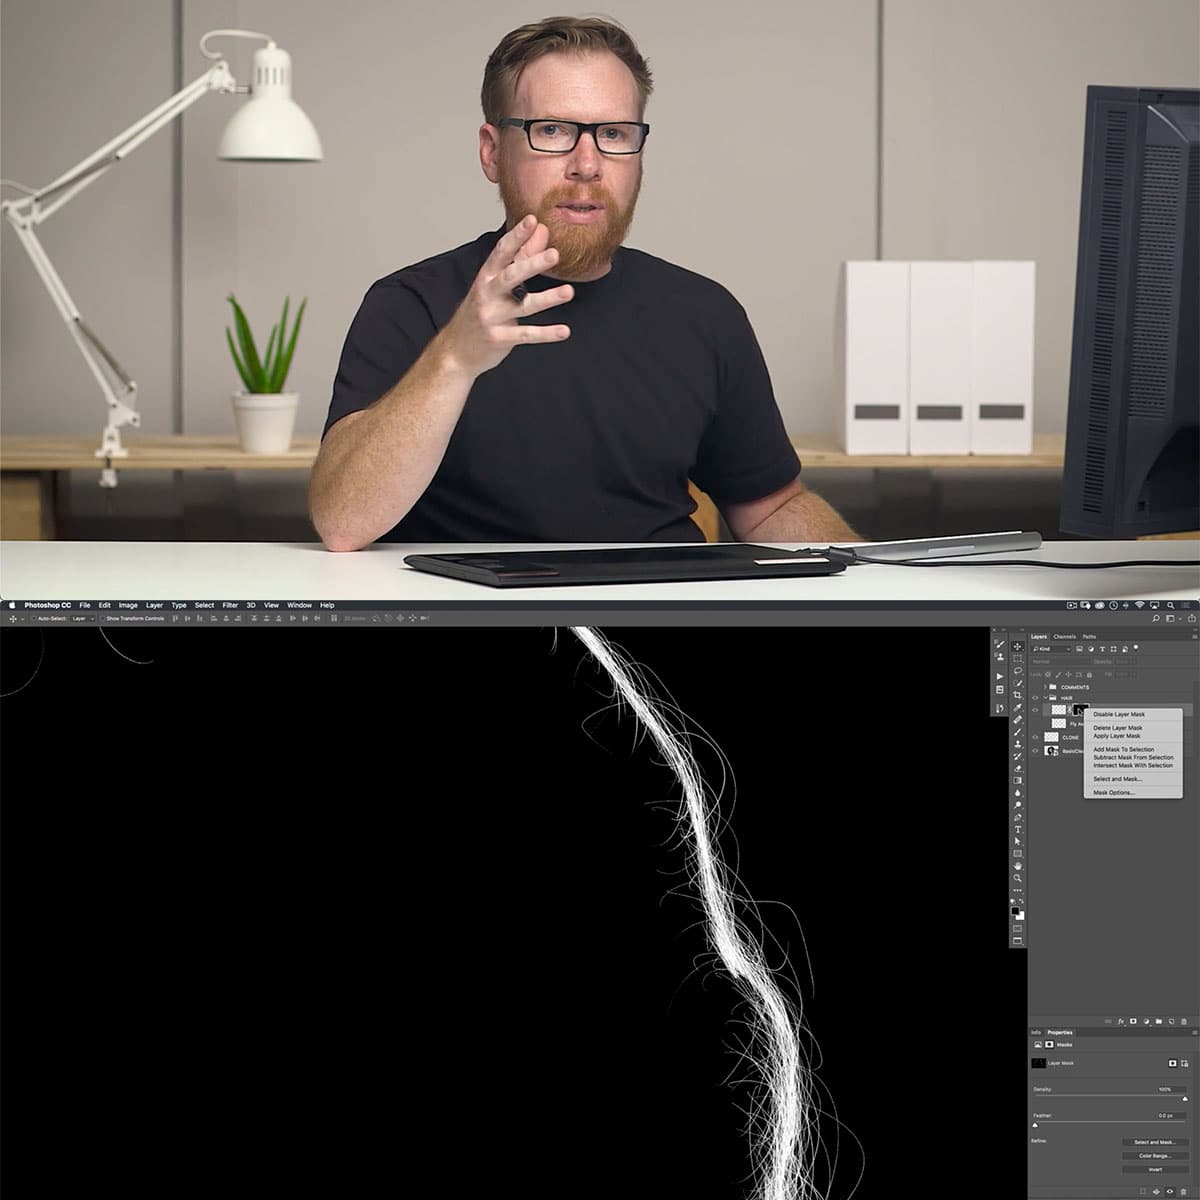
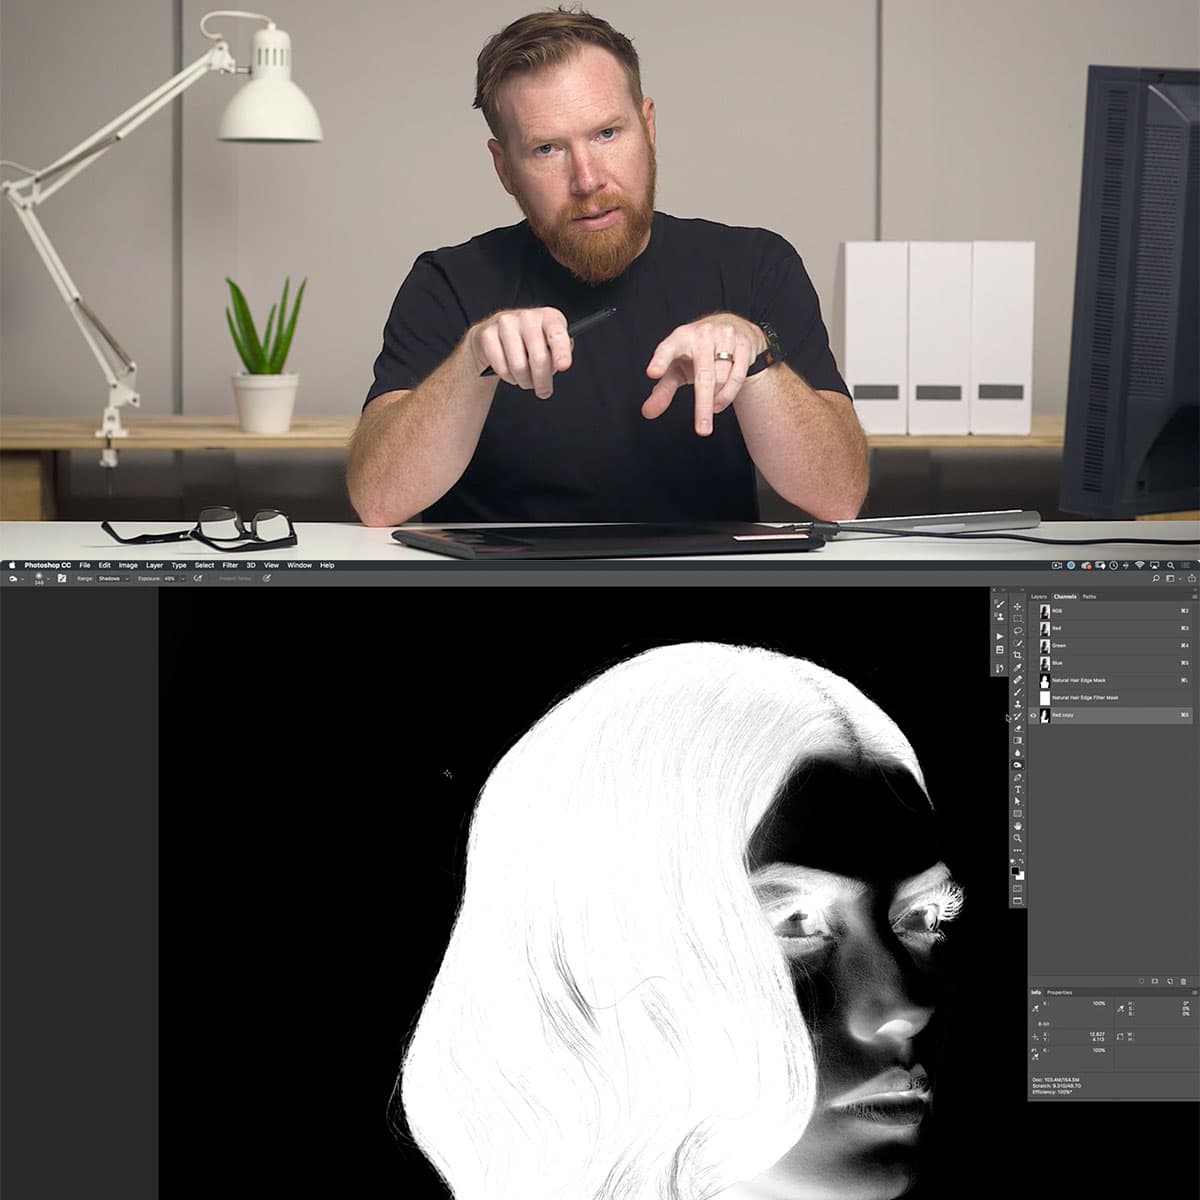
When applying a layer mask, it is important to remember that the color white reveals, while black conceals. By painting with white or black on the layer mask, we can either show or hide parts of the image. Additionally, various shades of gray can be used to create different levels of transparency.
Working with layer masks is quite straightforward. First, select the layer you want to mask, then click the Add Layer Mask button in the Layers panel. This will create a white mask, allowing the entire layer to be visible. If you want to start with a black layer mask, hold down Alt or Option while clicking the Add Layer Mask button1.
When using a layer mask, ensure that you have the mask thumbnail selected in the Layers panel. This will allow you to edit the mask, and not the actual layer. As you paint on the mask, you'll notice that the changes will only affect the masked layer, preserving all other layers in your project.
Remember that layer masks give us the ability to control the visibility of specific parts of a layer. By understanding and mastering layer masks, we can create complex and professional-looking visuals in our Photoshop projects.
Utilizing Layer Mask Tools
When working with layer masks in Photoshop, we have a variety of tools at our disposal. Among the most essential tools are the brush and eraser tools, which allow us to paint and modify masks directly on the selected layer.
To begin, we can choose the brush tool and select a suitable brush size and hardness. The purpose of the brush tool is to paint white or black onto the layer mask, where white reveals portions of the layer and black conceals them. The hardness setting determines the edge sharpness of our brush strokes.
A crucial aspect of layer mask editing is switching between black and white colors while painting. To do this seamlessly, use the X keyboard shortcut. Remember, white reveals, and black conceals elements of the layer. When using the eraser tool, the concept remains the same - erasing with white uncovers underlying layers, while erasing with black restores them.
Here's a brief outline of essential layer mask tools and their functions:
- Brush Tool: Paints white (reveal) or black (conceal) on the layer mask.
- Eraser Tool: Erases white (uncover) or black (restore) on the layer mask.
- Gradient Tool: Creates smooth transitions between white and black in the mask.
- Paint Bucket Tool: Fills selected areas with either white or black.
In conclusion, understanding and utilizing these tools can greatly enhance our layer mask editing experience in Photoshop. Mastering these techniques can lead to more precise and efficient work on complex projects.
Working with Layer Mask Options
When using layer masks in Photoshop, we have various options to customize and control our masks. One important aspect is adjusting the size of the mask. We can easily do this by selecting the mask and using the Transform tool (Ctrl + T) to resize it without affecting the content of the layer. For more information on resizing layer masks, check this tutorial on Photoshop Layer Mask Basics for beginners.
We can also control the background colors of the mask. By default, it is set to white, which reveals all parts of the layer. Using a reveal all mask with a white background enables us to control which parts of the layer are visible. Conversely, a conceal all mask hides parts of the layer using a black background. To switch between these, press D to reset the foreground and background colors, then press X to swap them.
Layer masks make use of grayscale values. Painting with different shades of gray allows us to have varying levels of opacity in our masks. The lighter the gray, the more visible the layer; the darker the gray, the more hidden it becomes. This is essential for blending images or creating smooth transitions. To access the grayscale color palette, press B on the keyboard to activate the brush tool, and then choose the desired shade of gray from the swatches panel.
In summary, working with layer masks in Photoshop offers many options to customize and perfect our work. Adjusting the size, background colors, reveal all, grayscale, and foreground settings are just some of the many ways we can manipulate and control our masks.
Exploring Advanced Layer Mask Techniques
Photoshop offers a wide range of advanced techniques when it comes to layer masks. Layer masks provide flexibility in design, as they allow the designer to make adjustments without permanently altering the image. Let's explore some of these techniques.
Non-destructive editing is a significant benefit of using layer masks. By applying a mask to a layer, we can hide or reveal parts of the image without actually erasing or modifying any pixels directly. This makes it easier to experiment with different effects and adjustments without losing valuable information.
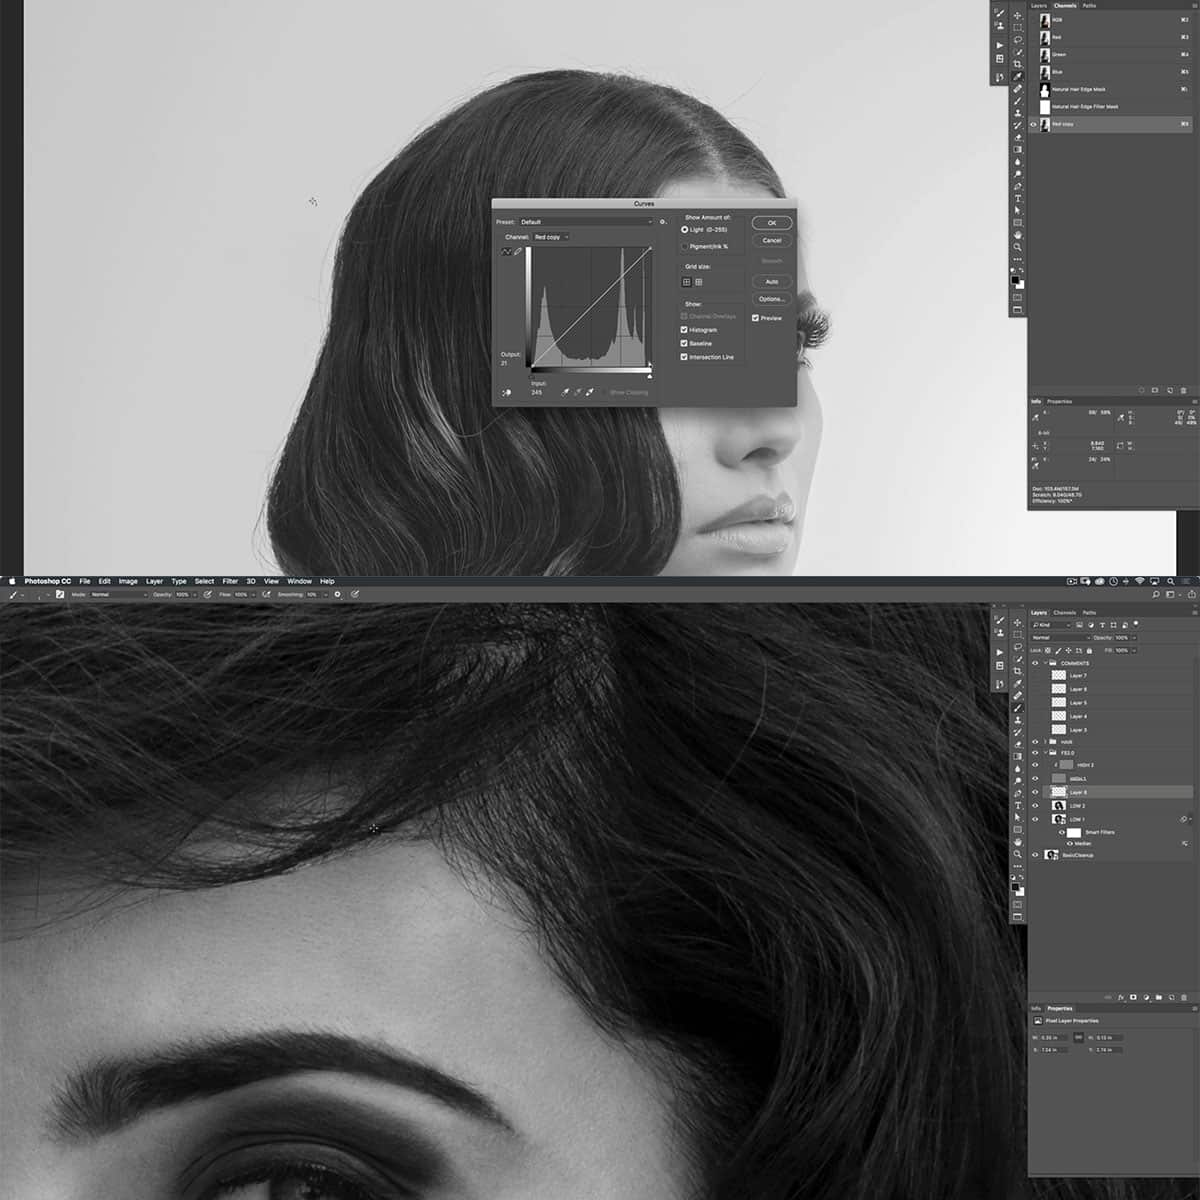
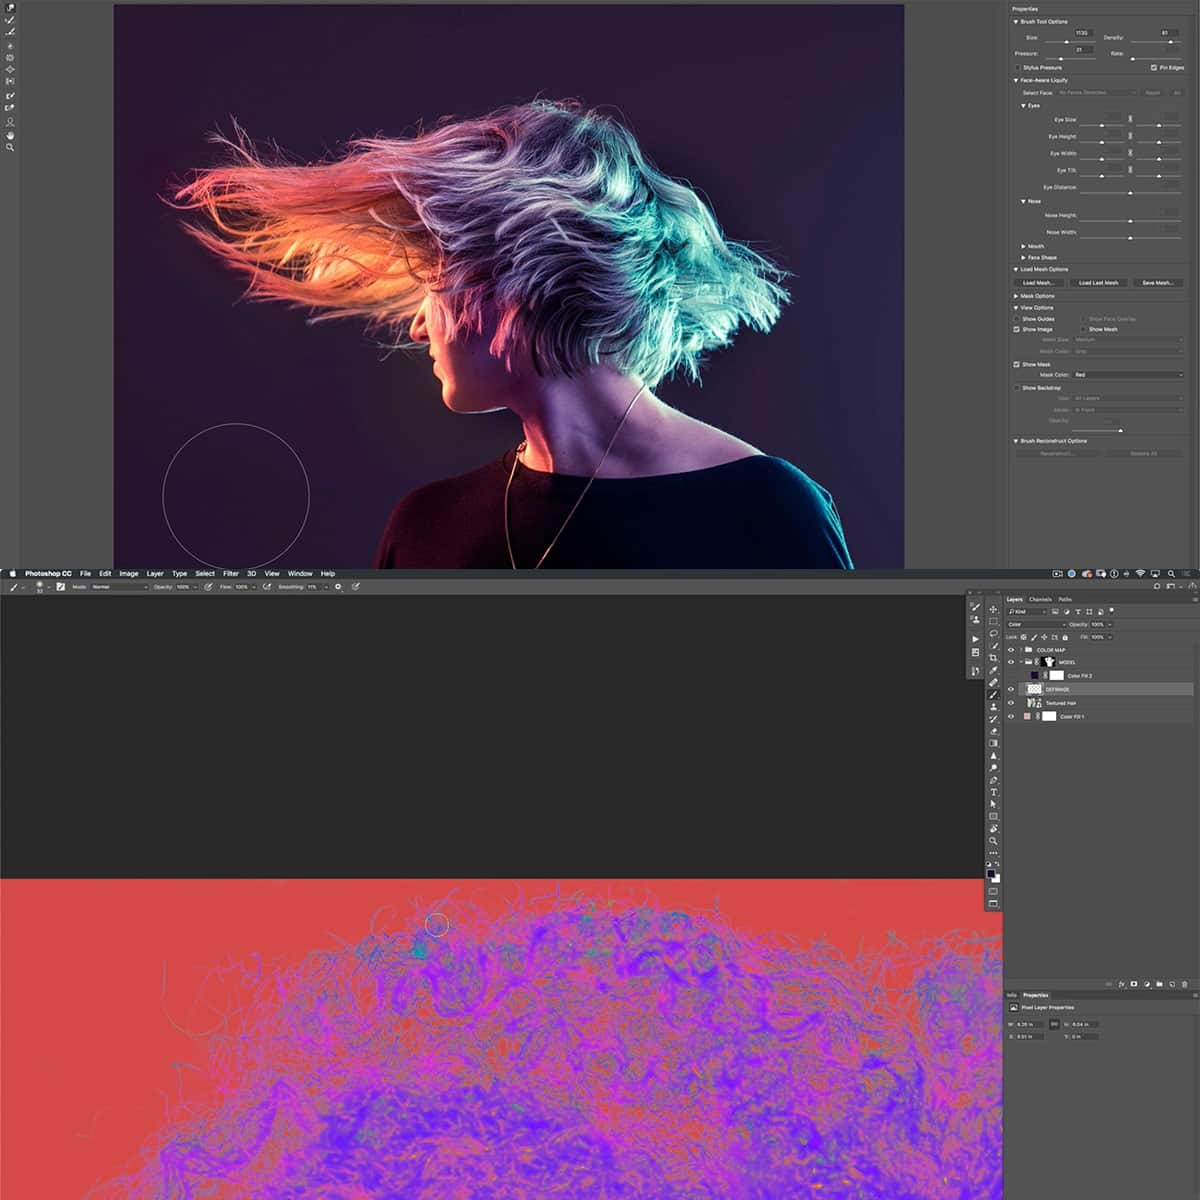
One advanced technique is feathering. Feathering creates soft transitions between visible and hidden areas of a layer, making the final result appear more natural. It can be adjusted using the Feather slider in the Properties panel, allowing us to refine our masks and ensure smoother blending of layers.
Adjustments work hand-in-hand with layer masks, as they give us the power to control the tonal and color appearance of a masked region. Some examples of adjustment layers include:
- Brightness/Contrast
- Curves
- Levels
- Hue/Saturation
By adding one of these, we can target specific parts of our layer, amplifying the overall effect of layer masking.
Lastly, we want to mention clipping masks, which is a technique in Photoshop where an upper layer is clipped to the visible contents of a lower layer. This can be used in conjunction with layer masks to create interesting effects, such as limiting an adjustment to a specific area or adding textures to certain parts of an image.
By mastering these advanced techniques, we can increase our proficiency in Photoshop, allowing us to create more intricate and visually appealing designs. Don't be afraid to experiment and unleash your creativity with layer masks!
Use Case Examples of Layer Masks in Photoshop
Layer masks are incredibly useful tools in Photoshop for photographers and designers alike. In this section, we will explore some use case examples that demonstrate the power of layer masks in various scenarios.
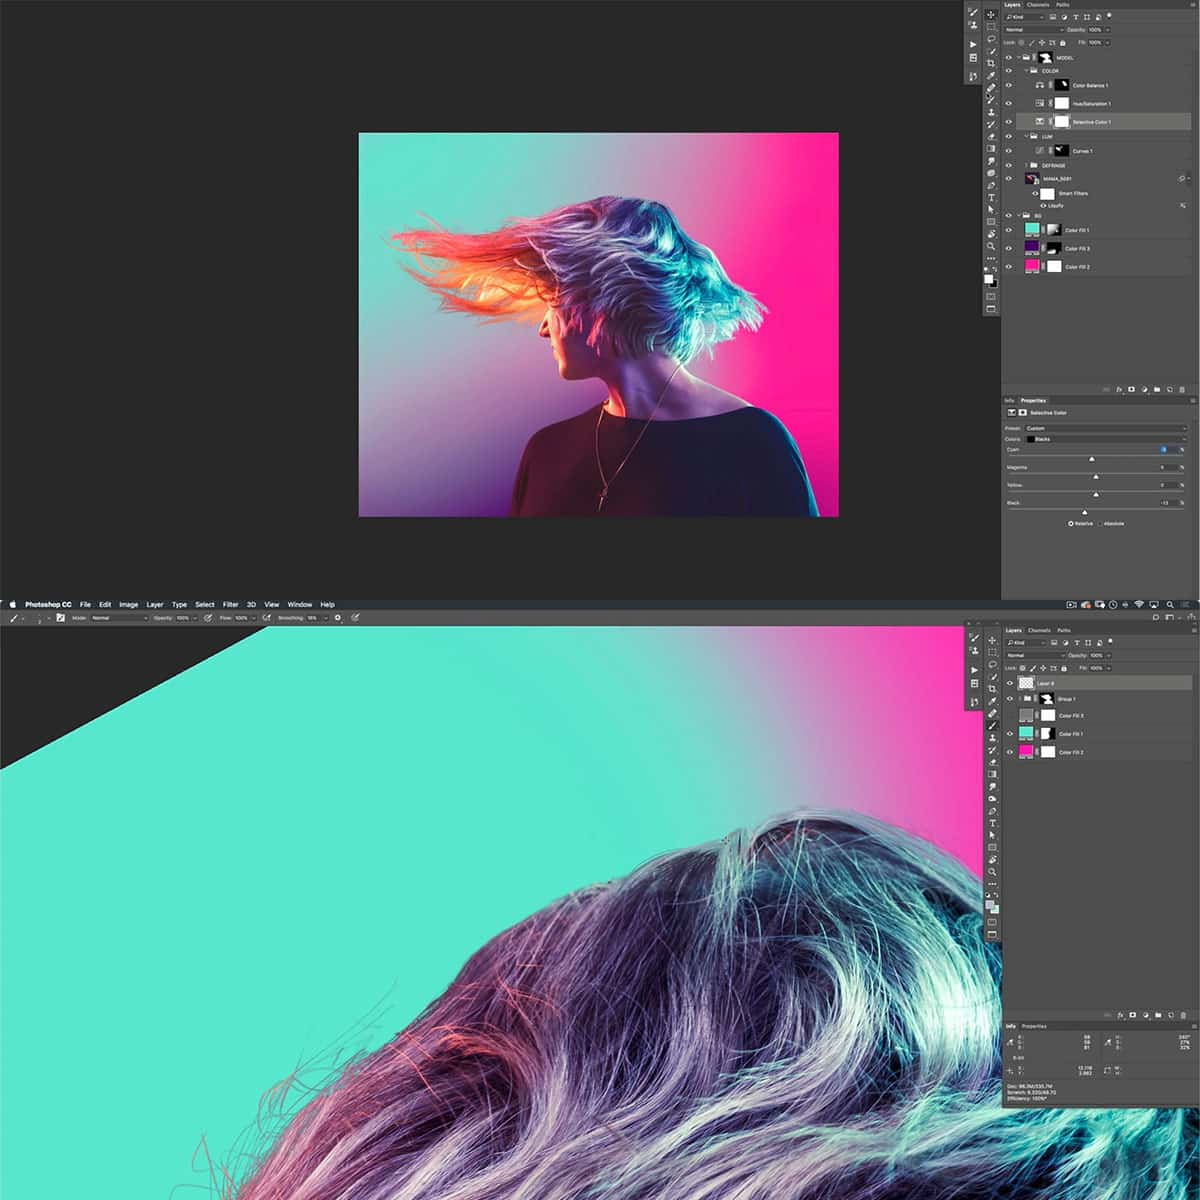
One practical use of layer masks is in creating image composites. Imagine working with two images, one with a beautiful sky and another with an interesting foreground. We can use a layer mask to seamlessly blend the two images, resulting in a stunning composition.
When working with photography, layer masks can be invaluable for selectively adjusting exposure or contrast. For instance, we might want to brighten up a subject's face without affecting the background. By adding a layer mask to an adjustment layer, we can apply adjustments to specific areas of a photo, leaving the rest untouched.
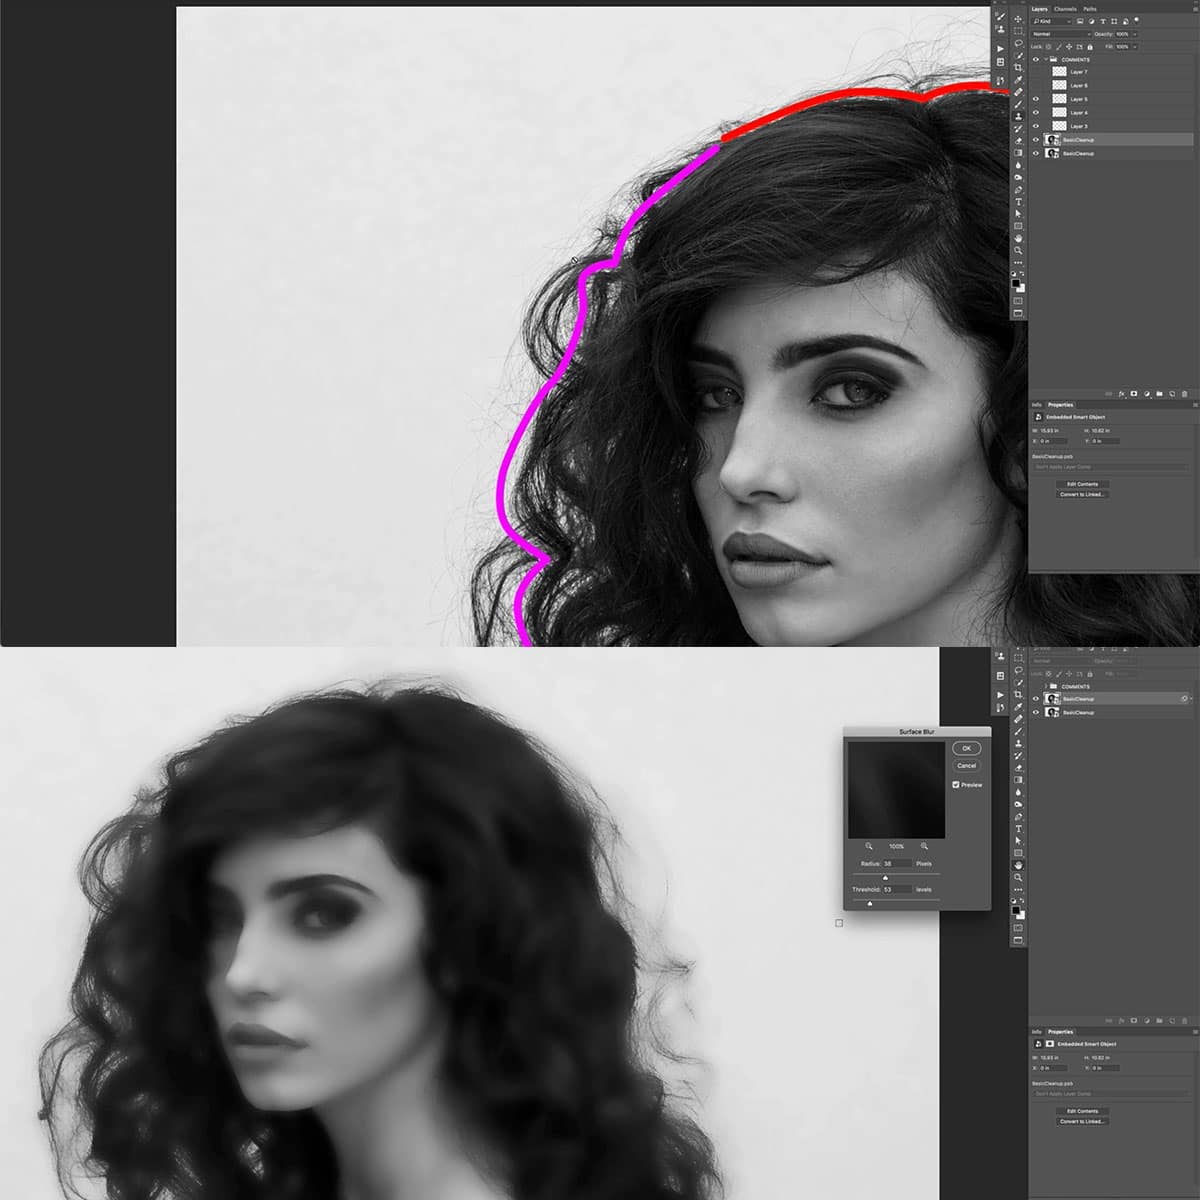
In the world of advanced CGI and AI courses, layer masks also play a vital role. They enable artists and designers to refine selections, mask complex objects, and make intricate selections for visual effects or 3D artwork. Layer masks provide a non-destructive way to make precise alterations, ensuring that composited elements blend seamlessly with the rest of the image.
Even when using software like Lightroom, understanding the concept of layer masks is beneficial. Many adjustments in Lightroom are essentially using the same masking principles, applied in a slightly different way. This foundational knowledge can lead to a smoother transition between tools and more refined results.
In summary, layer masks are essential tools for various creative applications, from photography to advanced image composites and CGI. Their versatility and non-destructive nature ensure that they remain a go-to technique for professionals and hobbyists alike.
Frequently Asked Questions
How is a layer mask different from a regular layer?
A layer mask is a non-destructive editing tool that allows you to conceal or reveal portions of an image within a layer without permanently erasing them. This is different from a regular layer, which allows you to paint and apply effects directly on the image itself.
What are the benefits of using layer masks?
Using layer masks enables you to make non-destructive edits, giving you the flexibility to alter or fine-tune changes later. This means you can experiment with different effects without permanently affecting your original image. Layer masks are adjustable and can be combined with other effects, such as gradients and brushes, to create engaging designs.
How can I create a layer mask from a selection?
You can create a layer mask from a selection by selecting the layer you want to mask, then going to 'Layer' > 'Layer Mask' > 'Reveal Selection' or 'Hide Selection' in the Photoshop menu. This will create a layer mask based on your selection, allowing you to hide or reveal parts of the image within the selected area.
What is the process to invert a mask in Photoshop?
To invert a mask in Photoshop, first, ensure the layer mask is selected in the Layers panel. Next, press 'Ctrl' + 'I' on a PC or 'Cmd' + 'I' on a Mac to invert the mask. This changes black areas to white and vice versa, effectively altering the parts of the image that are hidden or revealed.
How can I use the mask mode in Photoshop?
Mask mode in Photoshop allows you to work within a layer mask using editing tools such as the Brush and Gradient tools. To use the mask mode, first, create a layer mask. Then, click on the layer mask in the Layers panel to activate mask mode. You can now paint or apply gradients within the mask to reveal or hide areas of the image as needed.
Is a layer mask approach similar in programs like GIMP and Procreate?
Yes, the layer mask approach is similar in other image editing programs like GIMP and Procreate. While there may be slight differences in interface and tools, the concept of hiding or revealing parts of an image using a non-destructive layer mask is consistent across these programs.


